Calibration Model Wizard
- Step 1 - General information
Step 1 offers the general information setup of the new calibration.
The new calibration needs to be named and a description should be entered.
Ideally the name should briefly describe the type of calibration and the
calibration model or algorithm used. The calibration will be referred
to by this name throughout the software. Additionally more detailed information
can be entered into the description field. This will help you later on
to identify the calibration from a list of calibrations in the Quantify
explorer.
Where can I review this description later
on?
A summary of important information on a
calibration can be reviewed in the properties
tab after the calibration has been finished. Just select the calibration
node in the quantify
explorer and you will see the summarized information in the properties
tab.
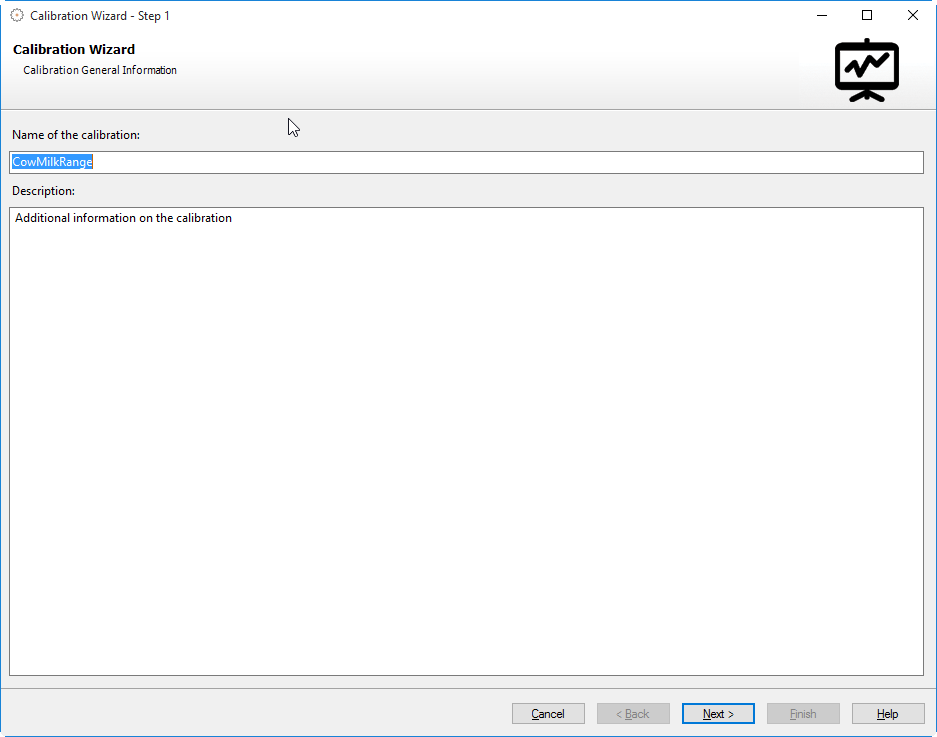
Step 1 shows the following dialog:
Calibration Model Name
Enter a unique name for the calibration here. This name will be displayed
as a reference on reports and is also used in the software to address
the calibration. Suitable names include the model and a description of
the calibrated property as shown in the following example:
Intensity-1745-Protein
Denotes a Intensity calibration for the property Protein at 1745 nm.
Ratio-1745(1807)-Protein
Denotes a Intensity ratio calibration for the property Protein where
the intensity at 1745 nm is divided by the intensity at 1807 nm.
Description
The description text field might be filled optionally with additional
sample information being important to the user. It might contain e.g.
details on sample preparation, applicable concentration ranges for the
calibration, procedure for preparation of reference concentrations, etc.
How can I add multiple lines in the Description
field?
When adding text in multiple lines to the
description field, the lines can be separated by CTRL-RETURN keys. Simply pushing RETURN-key does not work (this will trigger
the Next-button).
Navigation
Just click the Next
> button to proceed to the next step.
Clicking the Cancel button will
abort creating a new calibration.